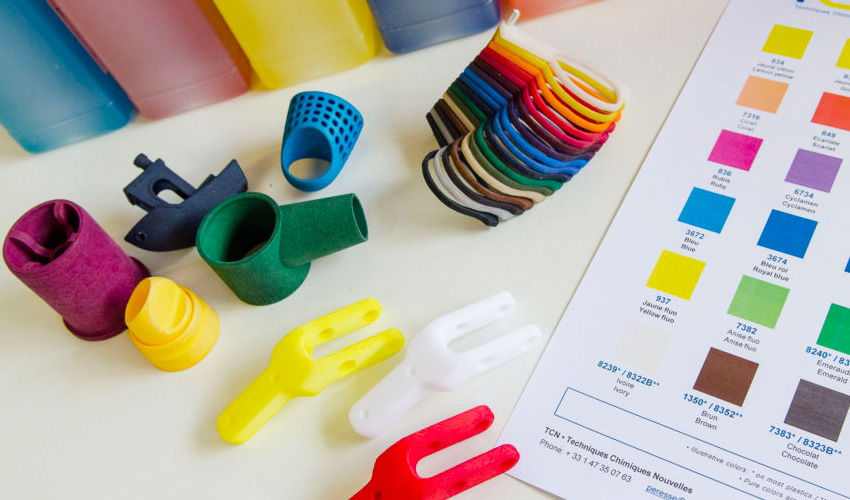
Two key benefits of additive manufacturing are the greater design freedom and customization that are possible when creating parts. However, not all 3D printers have the capability to create multicolor parts or parts with special finishes. For this, post-processing systems are a key tool in obtaining final models with the desired appearance. We have already seen above the basics of post-processing in 3D printing, as well as some of the most commonly used techniques, such as cleaning or surface finishing. In addition, there are also post-processing methods that add color to 3D printed parts. In order to better understand the different coloring or dyeing techniques, we have created this complete guide to the different options available.
We will address not only the production of full-color, 3D printed parts, but also the post-processing techniques available in 3D printing to achieve metallic finishes. Specifically, we will know in detail three of the main post-processing methods for color or special finishes: painting, dyeing and plating. Some of them will be more suitable for some parts or others, depending on the technology and the material used. Even so, it is always recommended to perform certain steps prior to the surface treatment of the parts. This is done mainly to ensure that the printed models have a smooth finish, free of imperfections and roughness. Once a uniform surface is achieved, we can start the treatment of the 3D printed parts to give them color and other special finishing.

Paint
When it comes to applying paint to 3D printed parts, there are two ways to do it: with paintbrushes, or with a spraying tool. First, using brushes and acrylic paint is a cheaper solution, but will require much more time to achieve the desired result. The main benefit of this technique is that you can combine a multitude of shades in different parts to get multicolored pieces. On the other hand, we can also use spray paint or spray paint guns to create a coating on the surface of the parts. This technique is commonly used even on parts machined using traditional manufacturing processes. To do this, it is recommended to clamp the part with wire or place it on some support for a more comfortable process. Then, position the spraying tool at a minimum distance of 15 cm from the model and start painting the part firmly until the entire surface is covered.
Although these methods are different, they can also be used complementarily, starting with a general spraying and ending with the use of brushes to achieve a higher level of detail. In both cases, a subsequent varnish may be applied to achieve a glossier finish, although this will mean a longer turnaround time for the parts. However, the main disadvantage of painting is that the paint coating is purely superficial as it is not able to penetrate the part. Therefore, if it is scratched or worn, the initial color of the 3D printed part will be exposed. In addition, it should be taken into account that the more layers of paint and varnish applied, the thicker the surface of the piece will be.


